{New For Us}

We recently picked up this antique library desk for a song!
{And we haven't stopped singing!}
We have {RePurposed} it into a dressing table for some of our {Jamie's} accessories.

{Why We Love IT}
This table marries all the wood tones in our entry {unifying} our space.
The table has a large top that displays part of Jamie's glass collection in a {form-follows-function} unique way.
We love using glass containers in non-traditional ways to hold collections, objects and plants. Our largest jewelry bowl was purchased at A&W Furniture {link} in Redwood Falls, MN, and the smaller one was {found} also for a song! The two varying levels of similar, round, glass create interest, movement and unity in this vignette.
Back to the desk, it has a lower shelf great for display.
It also has a drawer to hold more of {Jamie's} accessories.
As an art teacher, I believe everything is a canvas from our homes, to our hair, to what we wear. So, a girls gotta have paint {accessories} for her canvas, whatever that canvas may be! Boys need paint for their canvases too, which in Brent's case usually means vintage signs, farm tools, and lots of tractors & farm equipment.
{Farming is like painting God's earth with green.}

Speaking of painting with green, REAL, LIVE, plants are a designer or decorator's best friend.
In this vignette we have decorated with a plant from our wedding. We found this old enamel pot on the farm before our wedding. The inside was rusted out so it was perfect for something like a planter. We got the plants on clearance and they were in need of much TLC.
All the plants in this arrangement, plus about three other planters full, cost us around $5.00.
We brought the plants back the farm, and planted them in {found} planters from the farm sheds.
At this time, we were living two hours away from the farm so, the job of nurturing these plants back to life for the wedding went to Bill, Brent's father. He took so much much pride in taking care of these plant for us. Each time we came to the farm, he would show us the plants and smile because he knew he was getting these ready for our wedding.
It was his contribution to our wedding and he knew it made us {Jamie} happy.

Brent's father Bill, passed away a year ago...
He was a kind, helpful, happy man. He loved his family well.
The ivy plant in this arrangement was from Bill's funeral. We added it to our wedding arrangement because it is our favorite and most meaningful live arrangement we have. All of the plants in this arrangement are beautiful and thriving. Whenever we look at this lush arrangement, that Bill nurtured back to life on the farm, we think of him. Actually, we think of him everyday, as we look around this farm and live each day in a home built by his hands.
{New For You}

We picked this table and five chairs up at a shop. We fell in love with its craftsmanship, solid build and hidden drop leaf extension! We knew with a little love, some great paint and technique...the artist and farmer could turn this into a decorator piece {For You} to be sold at the...Barn Store.

We went for a Restoration Hardware like finish using..
French Linen Annie Sloan Chalk Paint, read more about this paint here {link}.
We love the Patina of this piece. The finish could fit in any style decor.

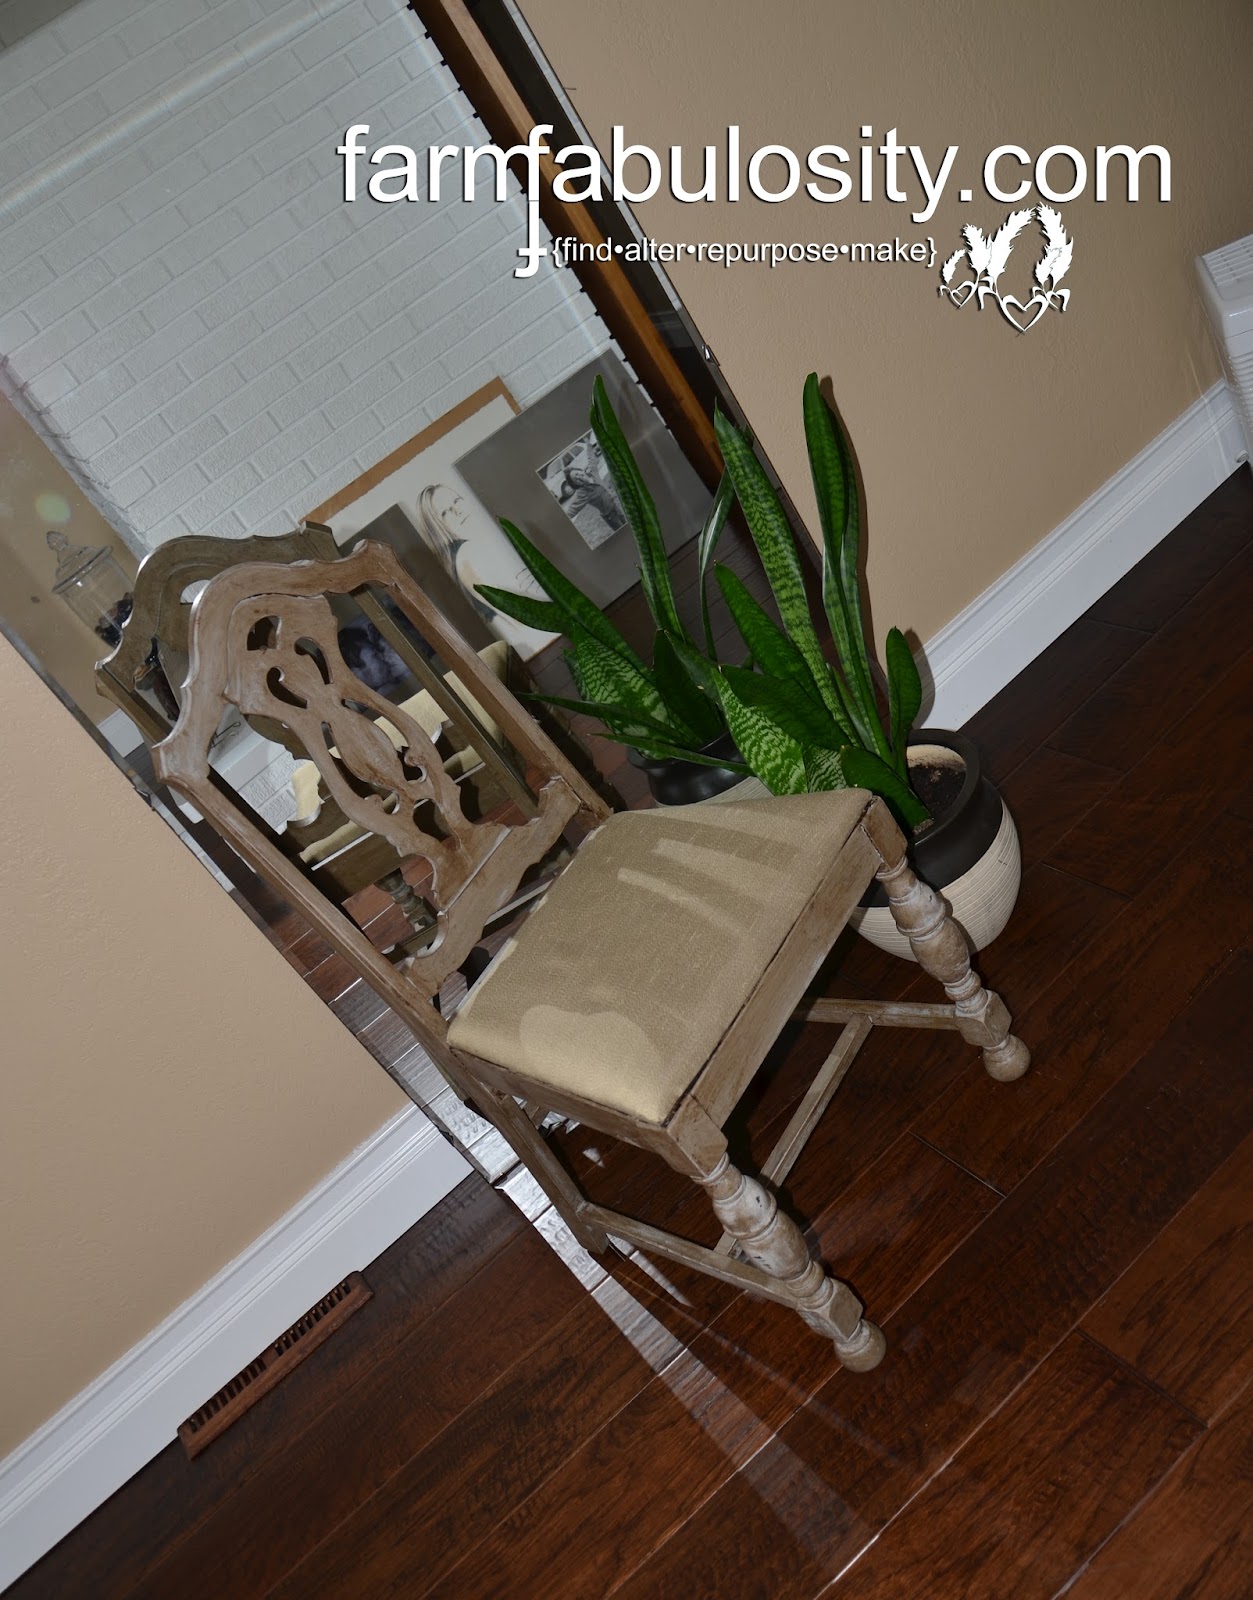
Love the chair backs and the silk fabric we reupholstered these with!

We love how this turned out & you will too!

Isn't it the perfect time worn patina & color.
Like something straight out of Restoration Hardware for a 1/4th of the price!
We will be selling this table & 4 chair set at the...Barn Store

She's got legs & and a hidden drop leaf & she knows how to use them.


Check out the trim around the table top ~ to die for!

Finally,
Your {How~To} for DIY Chair Recovering
So your furniture can go from this...

To This...

Materials Needed:
~The original seat of the chair you are recovering {usually a wooden frame}.
~Upholstery tacks or staples & staple gun.
~Fabric measured & cut to approximately, a inch and a half, to two inches, larger than the perimeter of the chair's seat frame.
~~~~

{How To}
First, remove the original seat there will be screws in the bottom in each corner securing the seats on to the chair frame.
Next, vacuum of the old fabric (if you are recovering over it).
Then, measure and cut the fabric slightly larger than the frame of the seat. You can take all of the old seat coverings off, buy new foam or batting and replace it, but we like the low profile of the recovered chairs and the old fabric wasn't filthy just too fancy and out of date.
We also like to keep it simple so, over the old fabric it went.

Tacks work so well, and if you have them in a chair already we suggest you reuse them. This is just one more way to live simply and
{RePurpose} something rather than just throw it away.
Antique and
higher quality furniture will have tacks holding the fabric that you can
usually remove and reuse.
After you have measured and cut the fabric, stretch the fabric tight {but not too tight} and put in your first tack or staple.
Work on two parallel sides first.
Then, work on the opposite sides next, making sure to pull the fabric tight as you go.
Leave the corners for last and tuck and fold the edges to create the lowest profile you can.
Then, work on the opposite sides next, making sure to pull the fabric tight as you go.
Leave the corners for last and tuck and fold the edges to create the lowest profile you can.
Finally, reattach the seat frame to the original chair frame using the original screws.
Now, enjoy your beautifully,
{Altered}
...new to you piece of furniture!
Or, if your not a DIY'er just come buy this one at the...Barn Store!
No comments:
Post a Comment